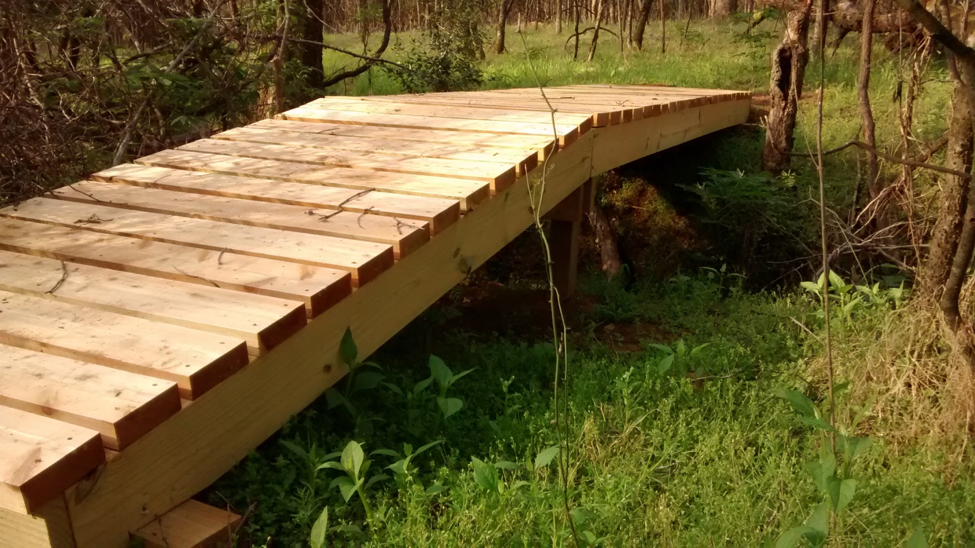
 A 22 Foot Cedar walkbridge on the future Cedar Grove Loop at Brumley Nature Preserve
One of my top favorite tasks as the Stewardship Technician here at TLC is the construction of the foot bridges and boardwalks we’ve put in over the past three years. Most are quite simple to build, while others provide an excellent challenge to get across a stream or drainage. I’ve developed my skills with over a dozen bridges of various size and complexity built and about one hundred feet of boardwalk constructed at Swift Creek Bluffs Nature Preserve. So, without further ado, welcome to BB101 where I’ll run you through the basics of bridge building as we construct the final links of the trail system at Brumley Nature Preserve.
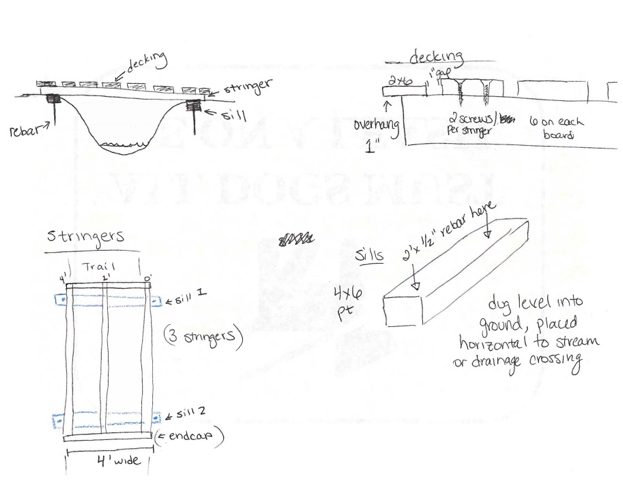
As do most building projects, it all starts with a firm foundation. We use either 4×6 or 6×6 treated lumber for this purpose. These are called sills and are placed parallel to what you’re crossing and are set firmly into the ground and stabilized with 2 foot long pieces of rebar hammered through. For our 4 foot wide bridges, our sills are 5’ wide to create a stronger footing for the bridge.
After the sills are in place, we get our stringers in place. These are also treated lumber, usually 2×6 or 2×8’s, depending on the length of the bridge. These are secured together with a board on the end, squared, and screwed or nailed into the sills they rest on. This is where the bulk of the bridges weight capacity is. On 16 foot or less bridges, we use 3 stringers placed on the sills like in the diagram below. If we need to go beyond 16 feet, we can double up 2×8’s for extra length. An even more impressive bridge is one our awesome volunteers built down at White Pines Nature Preserve that allowed our trail builder to move his excavator across it to continue on with the project on the Gilbert Yager Trail a year and a half ago. This bridge used 7 stringers total for enough strength to hold this machine that weighs over a ton!
 Strong trail bridge at White Pines Nature Preserve
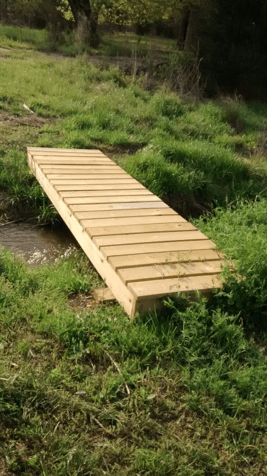
 11 foot long walk bridge across pond drainage
After the stringers comes the decking. We generally use 2×6 cedar planks spaced approximately one inch apart. These are secured into the stringers with 2 screws holding it in to each stringer and wa-lah, you have a simple bridge! Handrails and steps can come next for the finishing touches, but that gets a bit more complicated and adds quite a large amount of lumber to the building of the bridges.
So there you have it, a simple recipe to building simple foot bridges. This is The Dirt- Tales from the Field. As always if you have any questions or comments, feel free to email me at [email protected].

